Some of the landscapes in Homestuck look like this- drawn, like in a really hard way.
BTW, we're looking at the background here not the guy.
Do you want to learn how you too can make recolorized images like this? Yes. Yes you do.
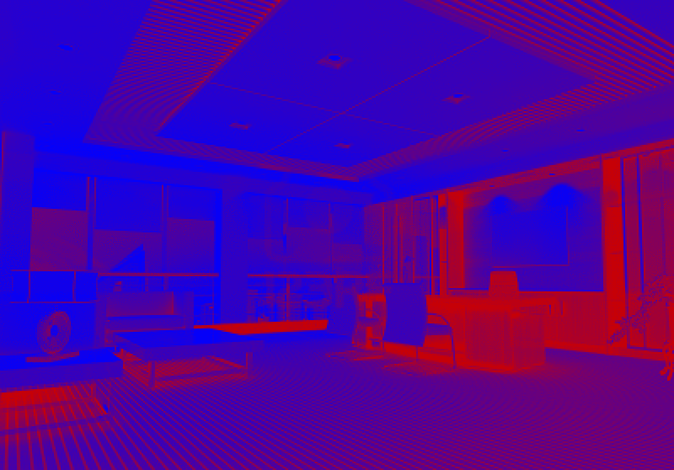
Start by going to Google Images. Decide if you want to do like an indoor scene, or an outdoor. I'm starting with indoor!
Here's the one I picked:

Lame, right?
Hop over to Lunapic.com and upload the image by URL or by saving to your computer. Under the "Adjust" tab, there's a link that says "Two-tone color" about half-way down. Click.
Pick two colors!
Here are some of mine: Light color blue, dark color red:
.gif)
Some lime and some dark green^^
.gif)
I call this one "Indoor land of greige and blue-dom"
Nice, right? Now you slap this bad boy onto GIMP and create a new layer to add your skillfully drawn anime characters onto... easy backgrounds. Let's try this with others, shall we?

"Land of real stuff and yawns"
.gif)
Oh yeah.

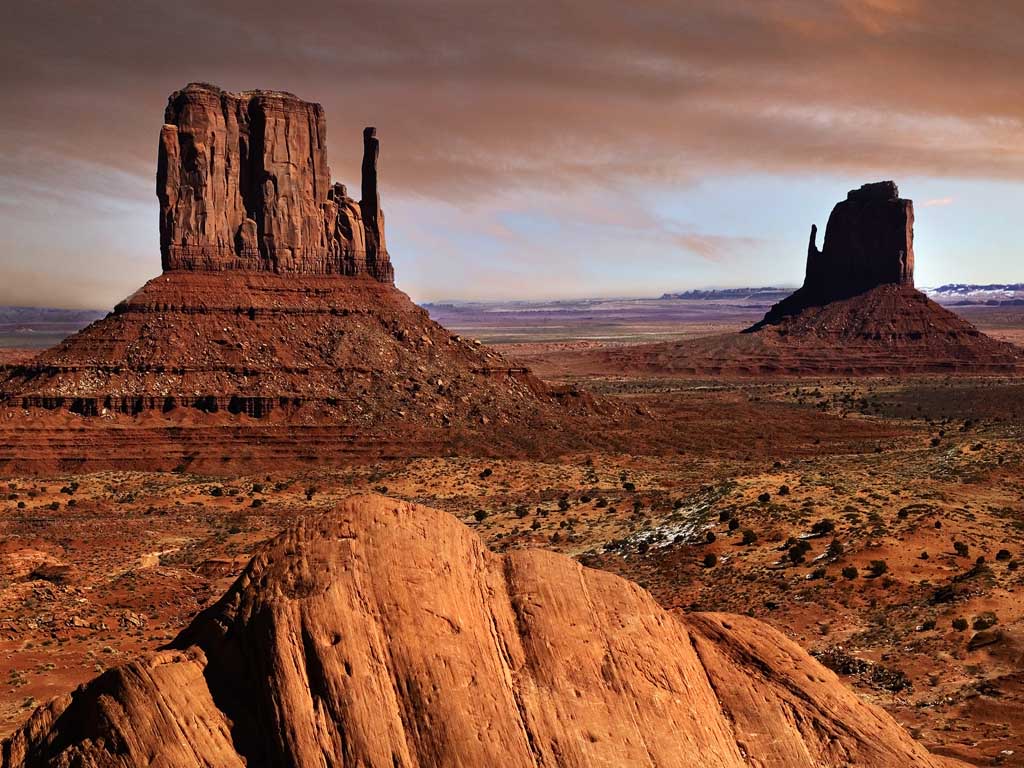
Land of Reality and like, Mountains
.gif)
Land of Desert Rats and Windows Vista Backgrounds
.gif)
If, like in this example, you use a light color for the "dark" tone, and a dark/bright color for the "light" tone, you get a temperature swap- snow, anybody?
Okay that's it. Comments if you'd like more terrible Lunapic edit tutorials!
No comments:
Post a Comment